Adding fields and tables
The first step in defining a document ontology is to add the required fields and tables under corresponding sections namely Header, Detail, and Footer. Under the Header, you add fields that uniquely identify a document such as invoice number, application number, date, etc; under Detail, you add fields that represent the main body of a document; lastly under the Footer, you add fields that summarizes the tabular data. For example, total amount, amount in words, etc.
Note:
If you encounter any issues, contact your system administrator.
To add the fields under the respective sections, follow the steps mentioned below:
-
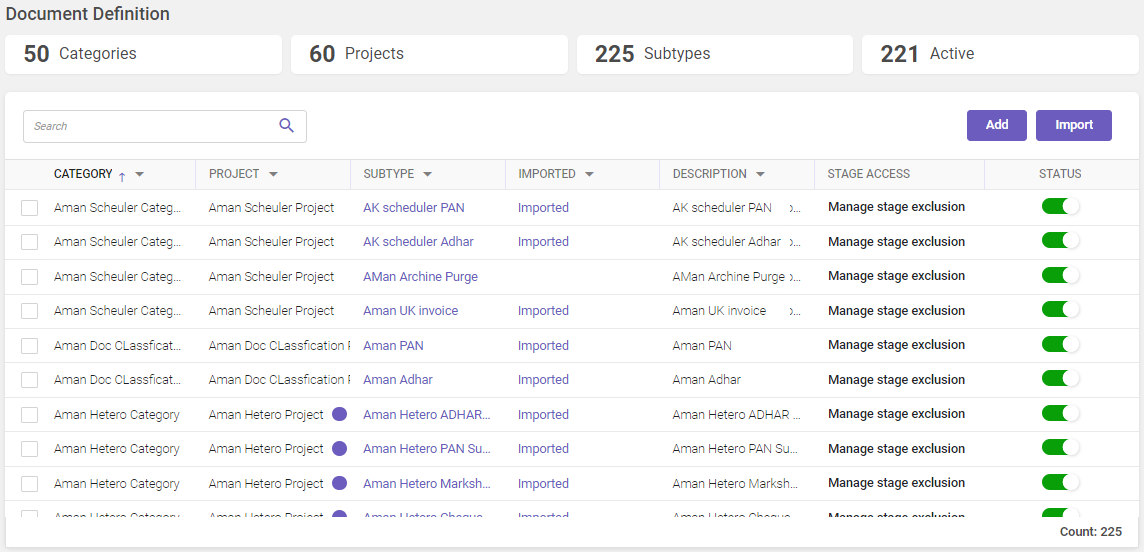
In the main menu, under Document Definition, click Subtype / Ontology. The Document Definition page will be displayed. The page will display the available document hierarchies in the system.
-
In the Document Definition page, for the required document hierarchy, click on the subtype link. The document ontology page is displayed.
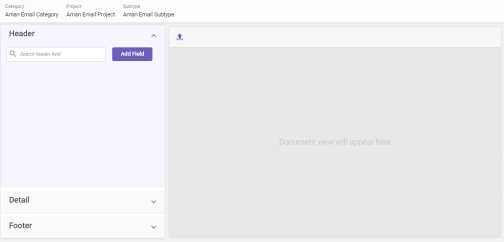
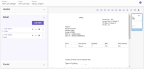
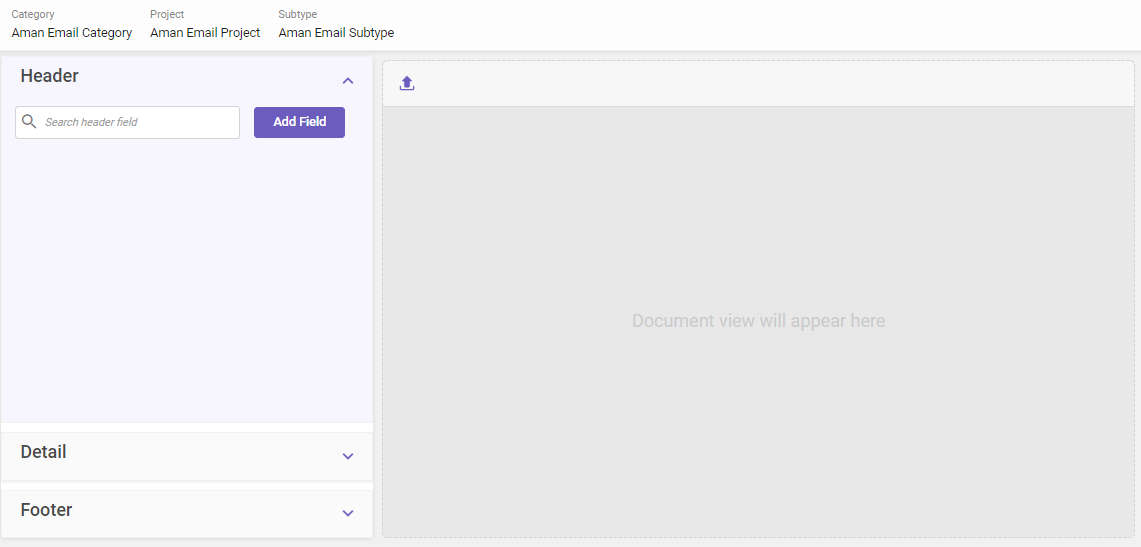
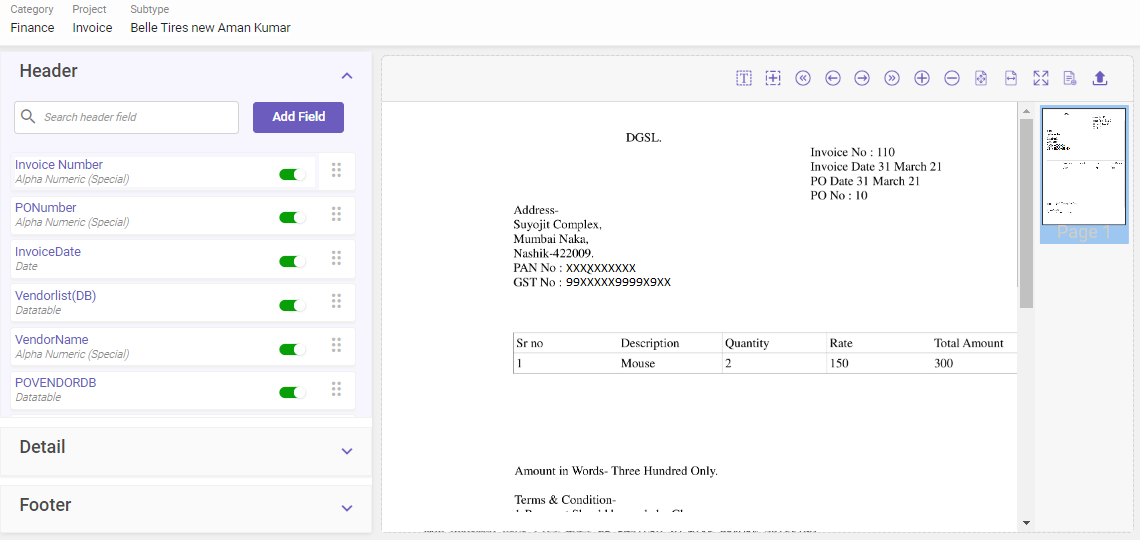
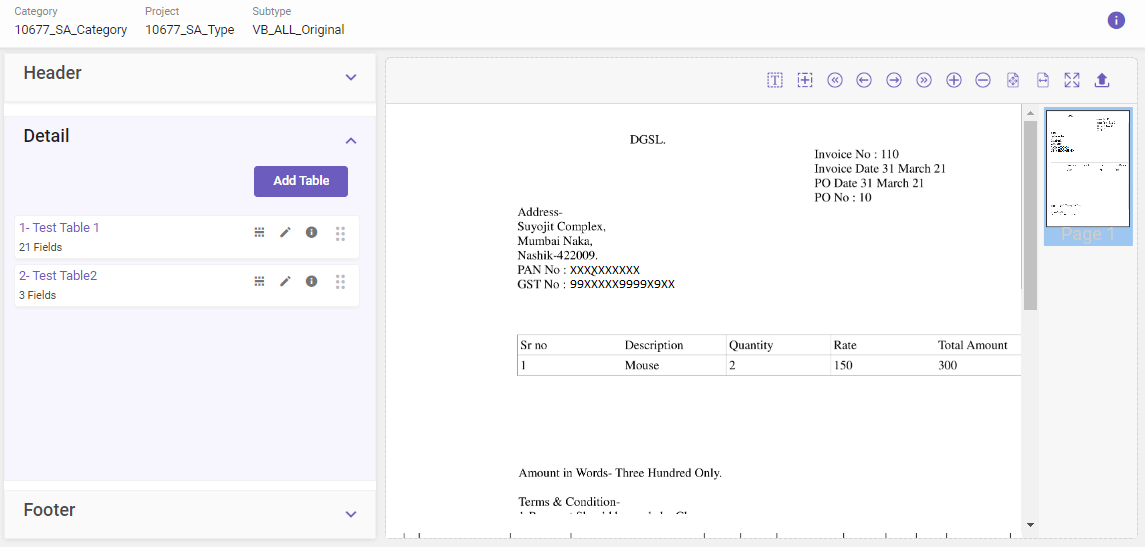
The page comprises of two panels. Using the left-side panel you can add the fields under the respective sections namely the header, the table (labeled as Detail), and the footer. In the right-side panel you have the Document viewer where you can upload a sample document that you can refer to while defining the ontology.
-
Before adding a field, it is recommended that you upload a sample document so that you can refer to it while adding the fields. Also, after uploading a document, you can use features like ROI markup, field assistance, etc. available in the Document viewer. To upload a document, click on the
 upload button in the top-left corner of the Document viewer.
 Using Document viewer to add and remove fields
If you are creating an ontology for the first time, it is recommended that you read all the steps given in the main procedure for adding a field before reading this section as it provides an alternative way of adding a field by using ROI.
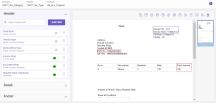
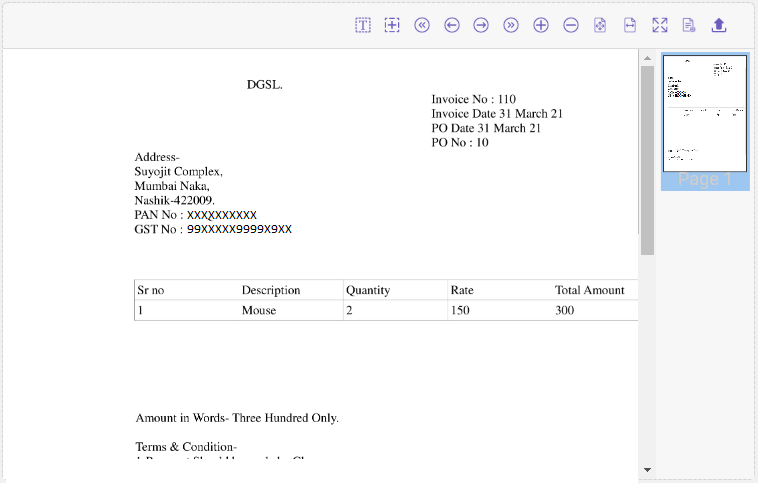
After you have uploaded a document, you can preview it in the Document viewer. A typical view of Document viewer is shown below.

You can also use the Document viewer for the following:
-
To create and view ROIs in the ontology.
-
To navigate through pages.
-
To change the size of the displayed page.
-
To preview ontology.
-
To upload a document.
Hover-over the below image to know about the available features.

Following table lists the available individual features in detail:
FEATURE
DESCRIPTION
Field Assist
It enables you to view the existing and the probable ROIs. More
Mark ROI
It allows you to add a field by drawing a ROI.
First
Click to go to the first page of the document.
Previous
Click to go to the previous page of the document.
Next
Click to go to the next page of the document.
Last
Click to go to the last page of the document.
Zoom In
Click to zoom in to the displayed page.
Zoom Out
Click to zoom out the displayed page.
Fit to Page
Click to view the displayed page of the document in page view.
Fit to Width
Click to fit the page in the preview window.
Fit to Original
Click to view the page in it's original size.
This feature enables you to check the extraction results of the fields added at the ontology level while setting up an ontology.
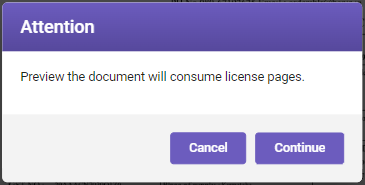
Once a field is added, click the
 icon, a warning message appears (see image below), prompting that previewing the document will consume license pages.

Click Continue to proceed to preview the extraction results in a separate tab.
Note:
-
At least one active Input source should be available in the system for the Project associated with the Subtype. Refer Adding input source for more details.
-
If a preview takes more time than expected to load, a user can close the preview during the progress. Please note that if an OCR is started/completed, the license will be consumed; if not, no license will be consumed.
Upload
To upload a document.
You can also click the
 icon at the top-right corner of the page to know more about the features available
The Document viewer also provides an easy way to add or remove the fields using click-and-capture method. The method simply involves clicking on an ROI to add or remove a field.
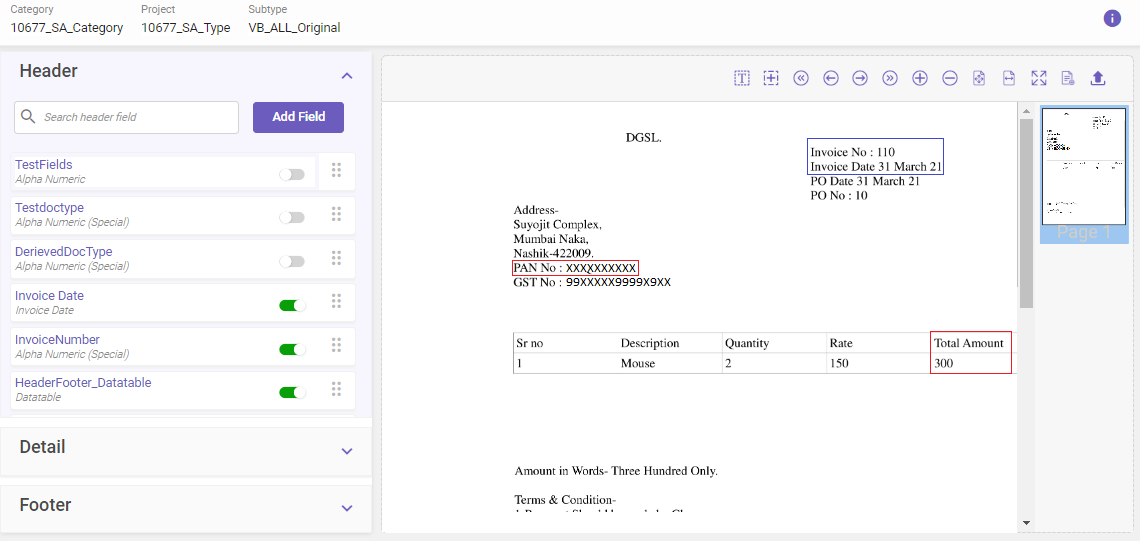
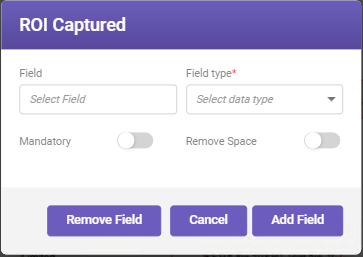
To add a field: Use the Field Assist or the Mark ROI feature to display and draw an ROI respectively. Click on the boundary of an unassigned ROI (indicated by red boundary) for which you want to add a field. The ROI Captured window opens. Fill-in the required details and click on Add Field to create the field. (See Setting-up an ontology field for field descriptions.)
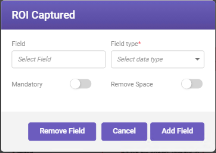
To remove a field: Use the Field Assist to display the existing field ROIs (indicated by blue and green boundaries). To remove a given field, click on its ROI. NOTE The ROI captured window opens. Click on Remove Field to remove the field. (See Setting-up an ontology field for field descriptions.)
-
-
Fields can be added under the Header, Footer, and Detail sections whereas a table can be added only under the Detail section. Expand the respective drop-down below to add a field or a table.
To add a field
Follow the steps below to add a field:
-
Expand the Header, Footer, or Detail section depending upon where you want to add a field. For adding field under Header or Footer, click Add Field; for adding field under Detail, click on the required table to open the table details, and then click Add Field. (If no table is available or you want to add a new one, refer link to know how to add a table.)
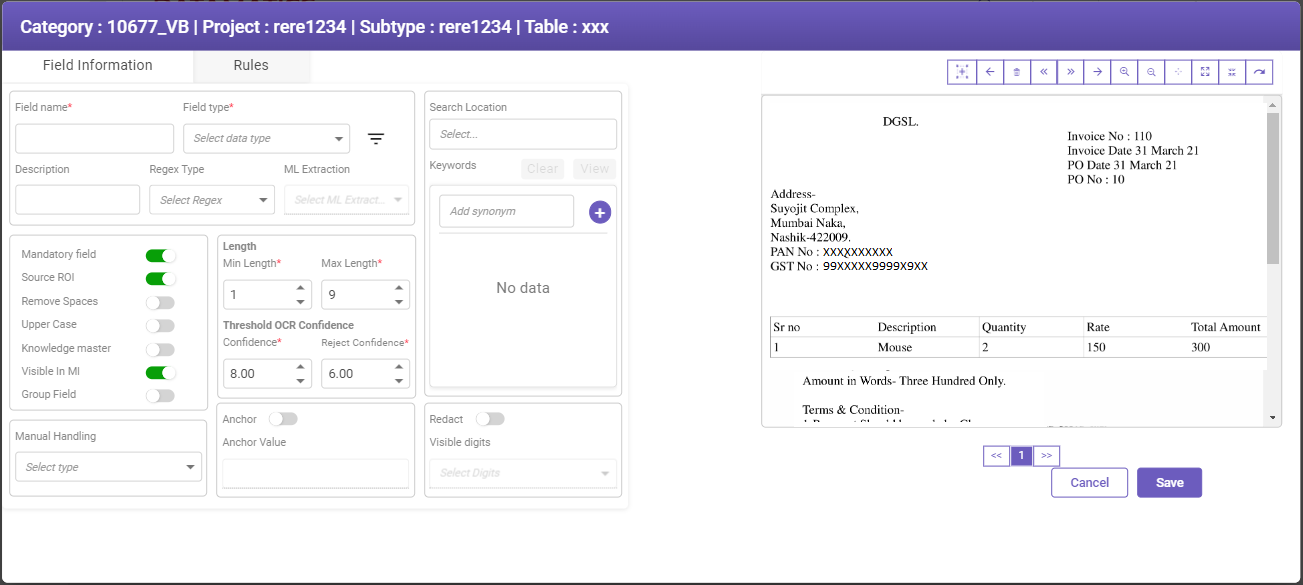
The field ontology page will open.
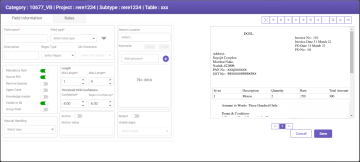
Note
- Keywords set against all the fields mentioned in Footer will be used as "stop word" to detect the end of the table.
- If the user wants additional keywords to act as "stop word" in the table, it can be added by creating a new field with only keywords and with Manual handling parameter set to Not Require on the field ontology screen. See Setting-up an ontology field for details.
-
In the field ontology page, enter the field name, and then select a field type from the drop-down list. Refer field type link for details. Click Save. The field will get added under the respective section.
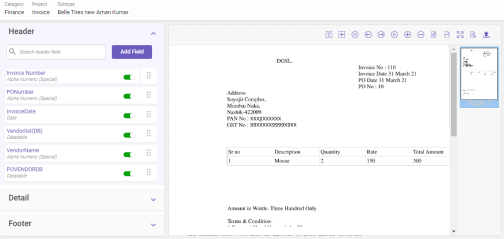
Note
-
For simplicity, only the mandatory ontology values namely the field-name and field-type have been added for the field. You can add more details after you have added the field in the ontology. See Setting-up an ontology field for details.
-
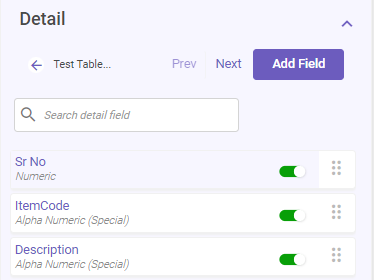
After a field is added under a given section, a cue card related to it becomes available in that section. Data extraction for the fields will happen based on the sequence of the cards that appear in a given section. To change the order of a card, use
 to drag-and-drop it at the required position. (The sequence of fields is important when you are using derived field types.)
-
-
To add more fields, repeat step 1 to step 2.
Note: You can use the Search option to find the required field when multiple fields are present in the Header and Footer sections.
To add a table
Follow the steps below to add a table:
-
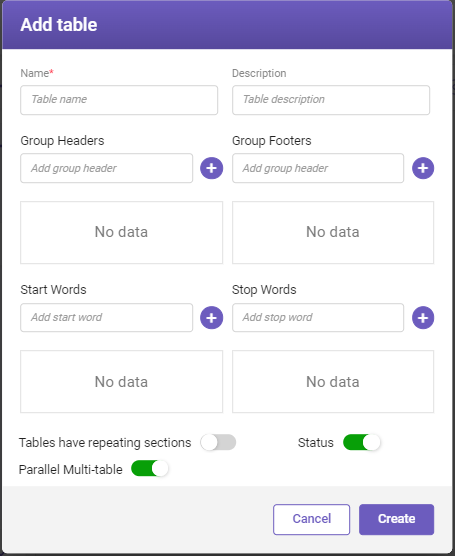
Expand the Detail section and click on Add Table. The Add Table window opens.
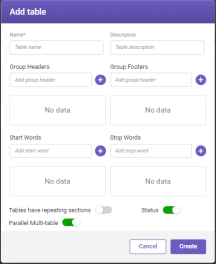
Refer to the table below for field descriptions.
CONTROL
DESCRIPTION
Name
Name of the table.
Description
A brief description about the table. For example, the type of data that will get extracted in the table.
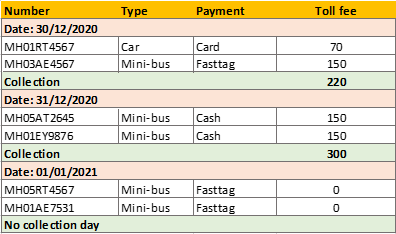
Group Headers
It represents a list of words that appear as table headers in a compound table (multiple tables joined together).
In the illustration below, Date appears as the group header.
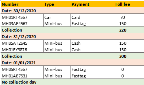
Group Footers
It represents a list of words that appear as table footers in a compound table (multiple tables joined together).
In the illustration below, Collection and No collection day appear as group footers.
Start Words
It represents a list of synonyms that appear as a start word for a table during table extraction.
Stop Words
It represents a list of synonyms that appear as a stop word for a table during table extraction.
Tables having repeating sections
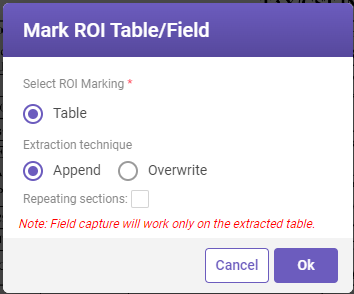
Enable the toggle switch to extract table values with repeating sections (see illustration below).
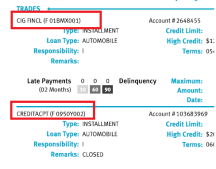
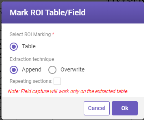
Note: When this toggle is enabled while adding a table, on the MI screen when clicked on Mark ROI for the table field, the Mark ROI Table/Field pop-up is displayed as shown below with Repeating sections checkbox enabled.
Status
If the status is enabled, the values for the table fields will get extracted; otherwise, they will be ignored.
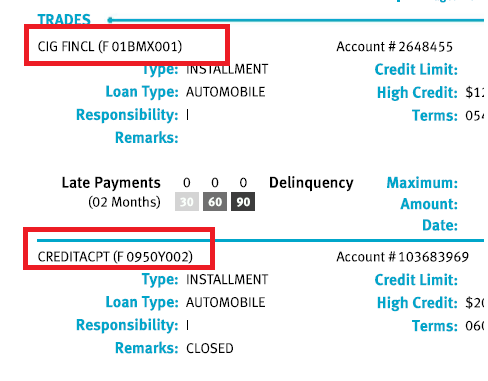
Parallel Multi-table
Enable the toggle switch to extract table values with repeating header names (see illustration below).

Cancel
To exit without creating a table.
Create
To create a table as per the data provided.
-
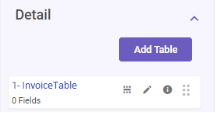
Fill-in the required details and click Create.
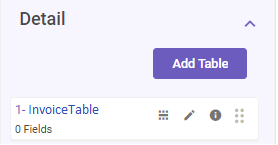
The table will get created and appear under the Detail section.
Cue card
After a table is added, a cue card related to it becomes available under Detail section. Data extraction for the available tables will happen based on the sequence of the cards. To change the order of a card, use
to drag-and-drop it at the required position. (The sequence of the table is important when you are using derived field types in your table.)Following features are available on the card:
Feature
DESCRIPTION
Mark ROI
Select
 and then draw the ROI around the required document table.
Edit table
Select
 to edit the table.
View table ROI
Select
 to view the ROI marked on the document for the table.
-
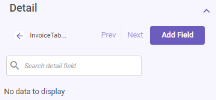
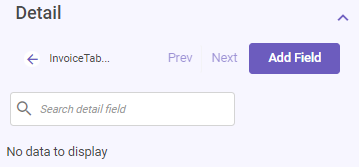
Click on the table name link appearing in the Detail section to view the table fields. In this case, since the table is newly created, no data would be displayed as no fields are present.
-
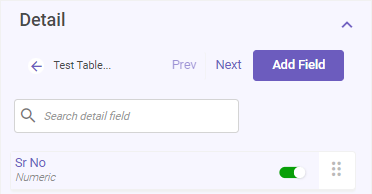
To add a field, refer link to know how to add a field. After adding a field, the field name will get displayed under the table.
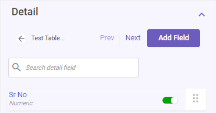
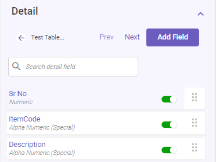
You can add more fields as required by repeating the step.
-
-
Repeat the previous step to add more fields and tables if required.

After you have added the required fields and tables in the document ontology, you can begin to add the required ontology details for each field. See Setting-up an ontology field for more information.